Carrying extra fuel is usually not necessary on an adventure motorcycle, due to the large fuel tanks on these bikes and the distances between gas stations. If you are going off the beaten track, however, you may need to carry extra fuel with you. It might also be necessary if you are travelling on a lighter dirt bike with a small gas tank. Here are four safe ways to carry extra fuel on an adventure bike trip that I’ve used myself.
Four ways to safely carry extra fuel on your adventure motorcycle include (1) a camping stove gas bottle, (2) plastic or metal gas can fitted to a luggage rack, (3) plastic fuel bladder strapped to your bike, or (4) long-distance gas tank installed on your bike.
Four options to safely carry extra fuel
There are many different ways that adventure riders carry extra fuel. Here are four of the more popular options, all of which I’ve tried before.
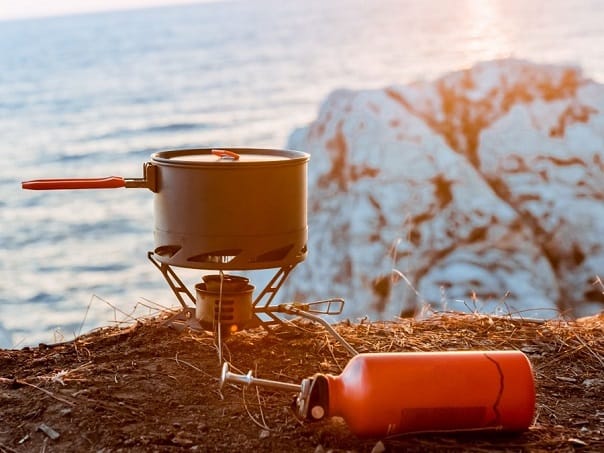
#1: MSR stove bottle (30 ounce)
This first option may be more applicable to dirt bikers playing around on their motocross bikes. If you are not venturing too far from your camp or the nearest town, you can carry your camp stove bottle with you on the ride. Stoves like the MSR can burn on normal unleaded gas and therefore doubles up perfectly as a spare fuel vessel.
The downside is that they only hold 30 ounces. On most adventure bikes, heavily laden with kit, that won’t get you much further than 10 miles. Carry two and you double that distance, which might just get you to the nearest town in case you miscalculated your fuel consumption. Remember, if you ride into the wind your fuel consumption will dramatically increase at higher speeds. The upside is that you will need a stove anyways, so you might as well use one that can carry bike fuel.
NOTE: The MSR stoves burns much cleaner on white gas like benzine instead of unleaded gas.
#2: Plastic/metal can (1.5 to 5 gallons)
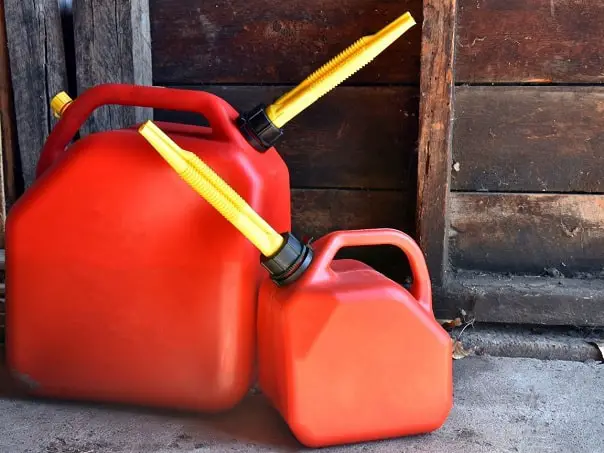
Plastic gas cans used for lawn mowers or boats are perfect for extra fuel. The smaller ones are ideal as they are not too top-heavy and can easily be strapped onto the rear rack on your bike. If your adventure bike has hard luggage, it is often possible to strap a smaller can to the top or rear of each pannier.
Jerry cans are another safe option. They close tightly to avoid spillage and can take a beating without risking a leak. The only downside are that they take up a lot of space, even when they are empty. Whenever you attach a heavy gas can to your frame or luggage rack, make sure it is attached properly and that the structure can take the weight.
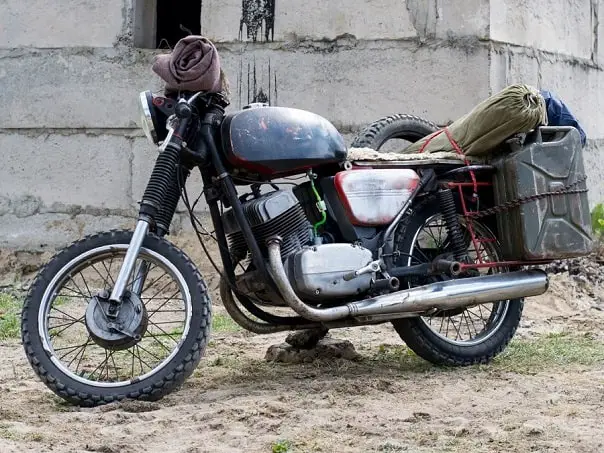
On one of our earlier trips on Yaamaha XT500’s, both of my friends’ home-made luggage racks broke beyond repair due to being overladen. The rutted roads and the many tumbles in the soft sand did not help either.
#3: Bladder (2 gallons)
The best option from my experience, apart from a bike with a big enough adventure tank, is a gas bladder. We purchased two 7 liter (nearly 2 gallon) military grade gas bladders for our 15 500 km Africa trip. They weigh next to nothing when empty and are completely flat. It is easy to stow away below your luggage bags when not needed, and then strap on top when you do.
During a 90 day trip through 11 countries in Africa we only filled them up twice: once after we heard rumors of fuel shortages in Malawi, and again in the Western Desert in Egypt. On both occasions we ended up not needing it, but the peace of mind is worth the price we paid.
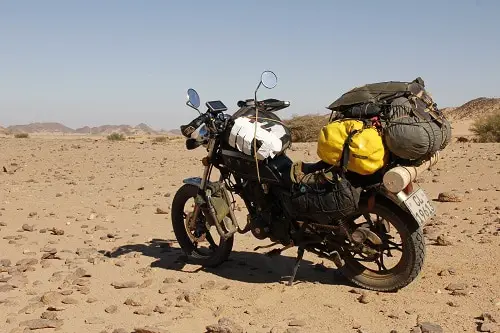
The bladders are tough and can take a serious beating without risking a leak. It has a nozzle that screws into the neck to make filling up easier. The best feature is that the nozzle is stored inside the bag by inverting it.
#4: Long-range tank (>9 gallons)
The most reliable method of carrying extra fuel for a long trip is to just fit a bigger tank. Some bikes have the option of a larger tank straight from the factory. The BMW R 1250 GS Adventure, for instance, has a 30 liter tank compared to the standard BMW R 1250 GS that only takes 20 liters. There are also aftermarket brands that make long distance tanks for a wide range of motorcycles, like Acerbis.
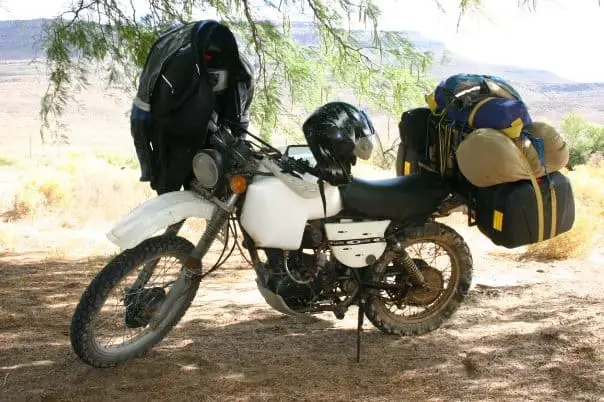
The big advantage of a larger tank is that it is much safer. There is no risk that it will fall off or leak, and is less likely to get damaged if the bike falls over. It also places the extra weight right between your legs where it has the smallest effect on the center of gravity.
A built-in tank eliminates the need to stop to refill the main tank and you get to avoid the messy business of trying to fill a tank from a can or bottle. If you are serious about going off the beaten track, the size of your bike’s tank is something that seriously need to consider.
Do I need to carry extra fuel?
Before you go out and buy the most expensive aftermarket long-range tank and have it installed on your bike, take a moment to consider whether you really need extra fuel. On most main routes, gas stations are spaced close enough so that you don’t need a range much further than 200 miles. Most adventure bikes will comfortably reach the next filling station. This is true even in third-world countries across Africa. On our Crossing Africa trip we only never needed our extra fuel, even in the Western Desert in Egypt. We did, however, still carry extra fuel in some areas for peace of mind.
Tip: In third-world countries, always fill up whenever you get the opportunity. The next gas station might be closed or only accept cash.
Francois Steyn – Crossing Africa
If you plan on going off the beaten track without a back-up vehicle, then you will have to make sure you carry enough extra fuel.
How do you know how much fuel you need?
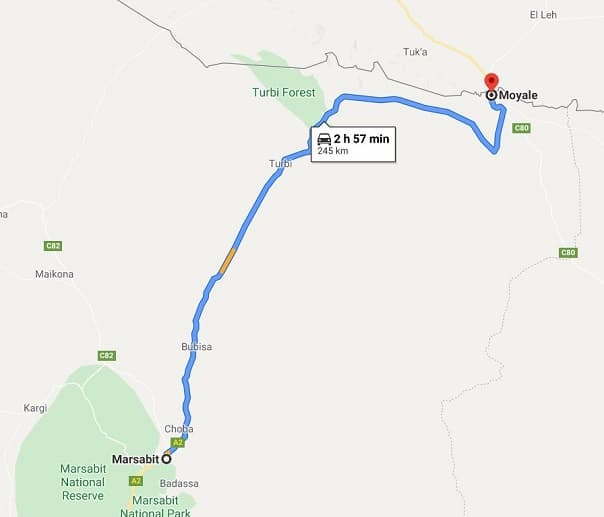
When you are doing your rough route planning before the trip, make notes of planned routes where there aren’t any large towns on the map. Look on Google Earth or Google Maps how many miles you will have to cover before the next reliable gas station. Add a few miles to be on the safe side.
Next you need to determine your bike’s fuel consumption. Remember, you need to measure it while fully laden with all the gear you plan on taking on the trip. A shorter pre-trip weekend to test all your gear is perfect for this. Fill up your tank all the way to the neck without spilling and write down the odometer reading. Ride at least 200 miles before filling up with gas again. Write down your trip miles (the distance traveled since the last fill-up) and divide it by the quantity of gas required to fill the tank. This will give you your consumption in miles per gallon (MPG). You can also use this fuel consumption calculator if you prefer.
The last step is to divide the furthest distance you expect to ride on your tour by the fuel consumption of you bike. This will tell you how much fuel you will need. You can deduct your bike’s tank volume to find out how much extra fuel you need to carry, and therefore the volume of the container you need.
Other considerations
Safety warnings:
- Make sure your container does not leak onto yourself or your luggage. Fuel is highly flammable and can have devastating consequences next to the campfire.
- Don’t wear fuel containers on your body while riding, like in a backpack or a vest.
- Don’t carry fuel in a container that was not meant for fuel. Plastic soda bottles will start to disintegrate and leak due to the volatile nature of fuel.
Fuel is dangerous. Be safe out there!
